
Mon - Fri: 08:00am - 06:00pm
416 317 3408
info@removemywalls.ca
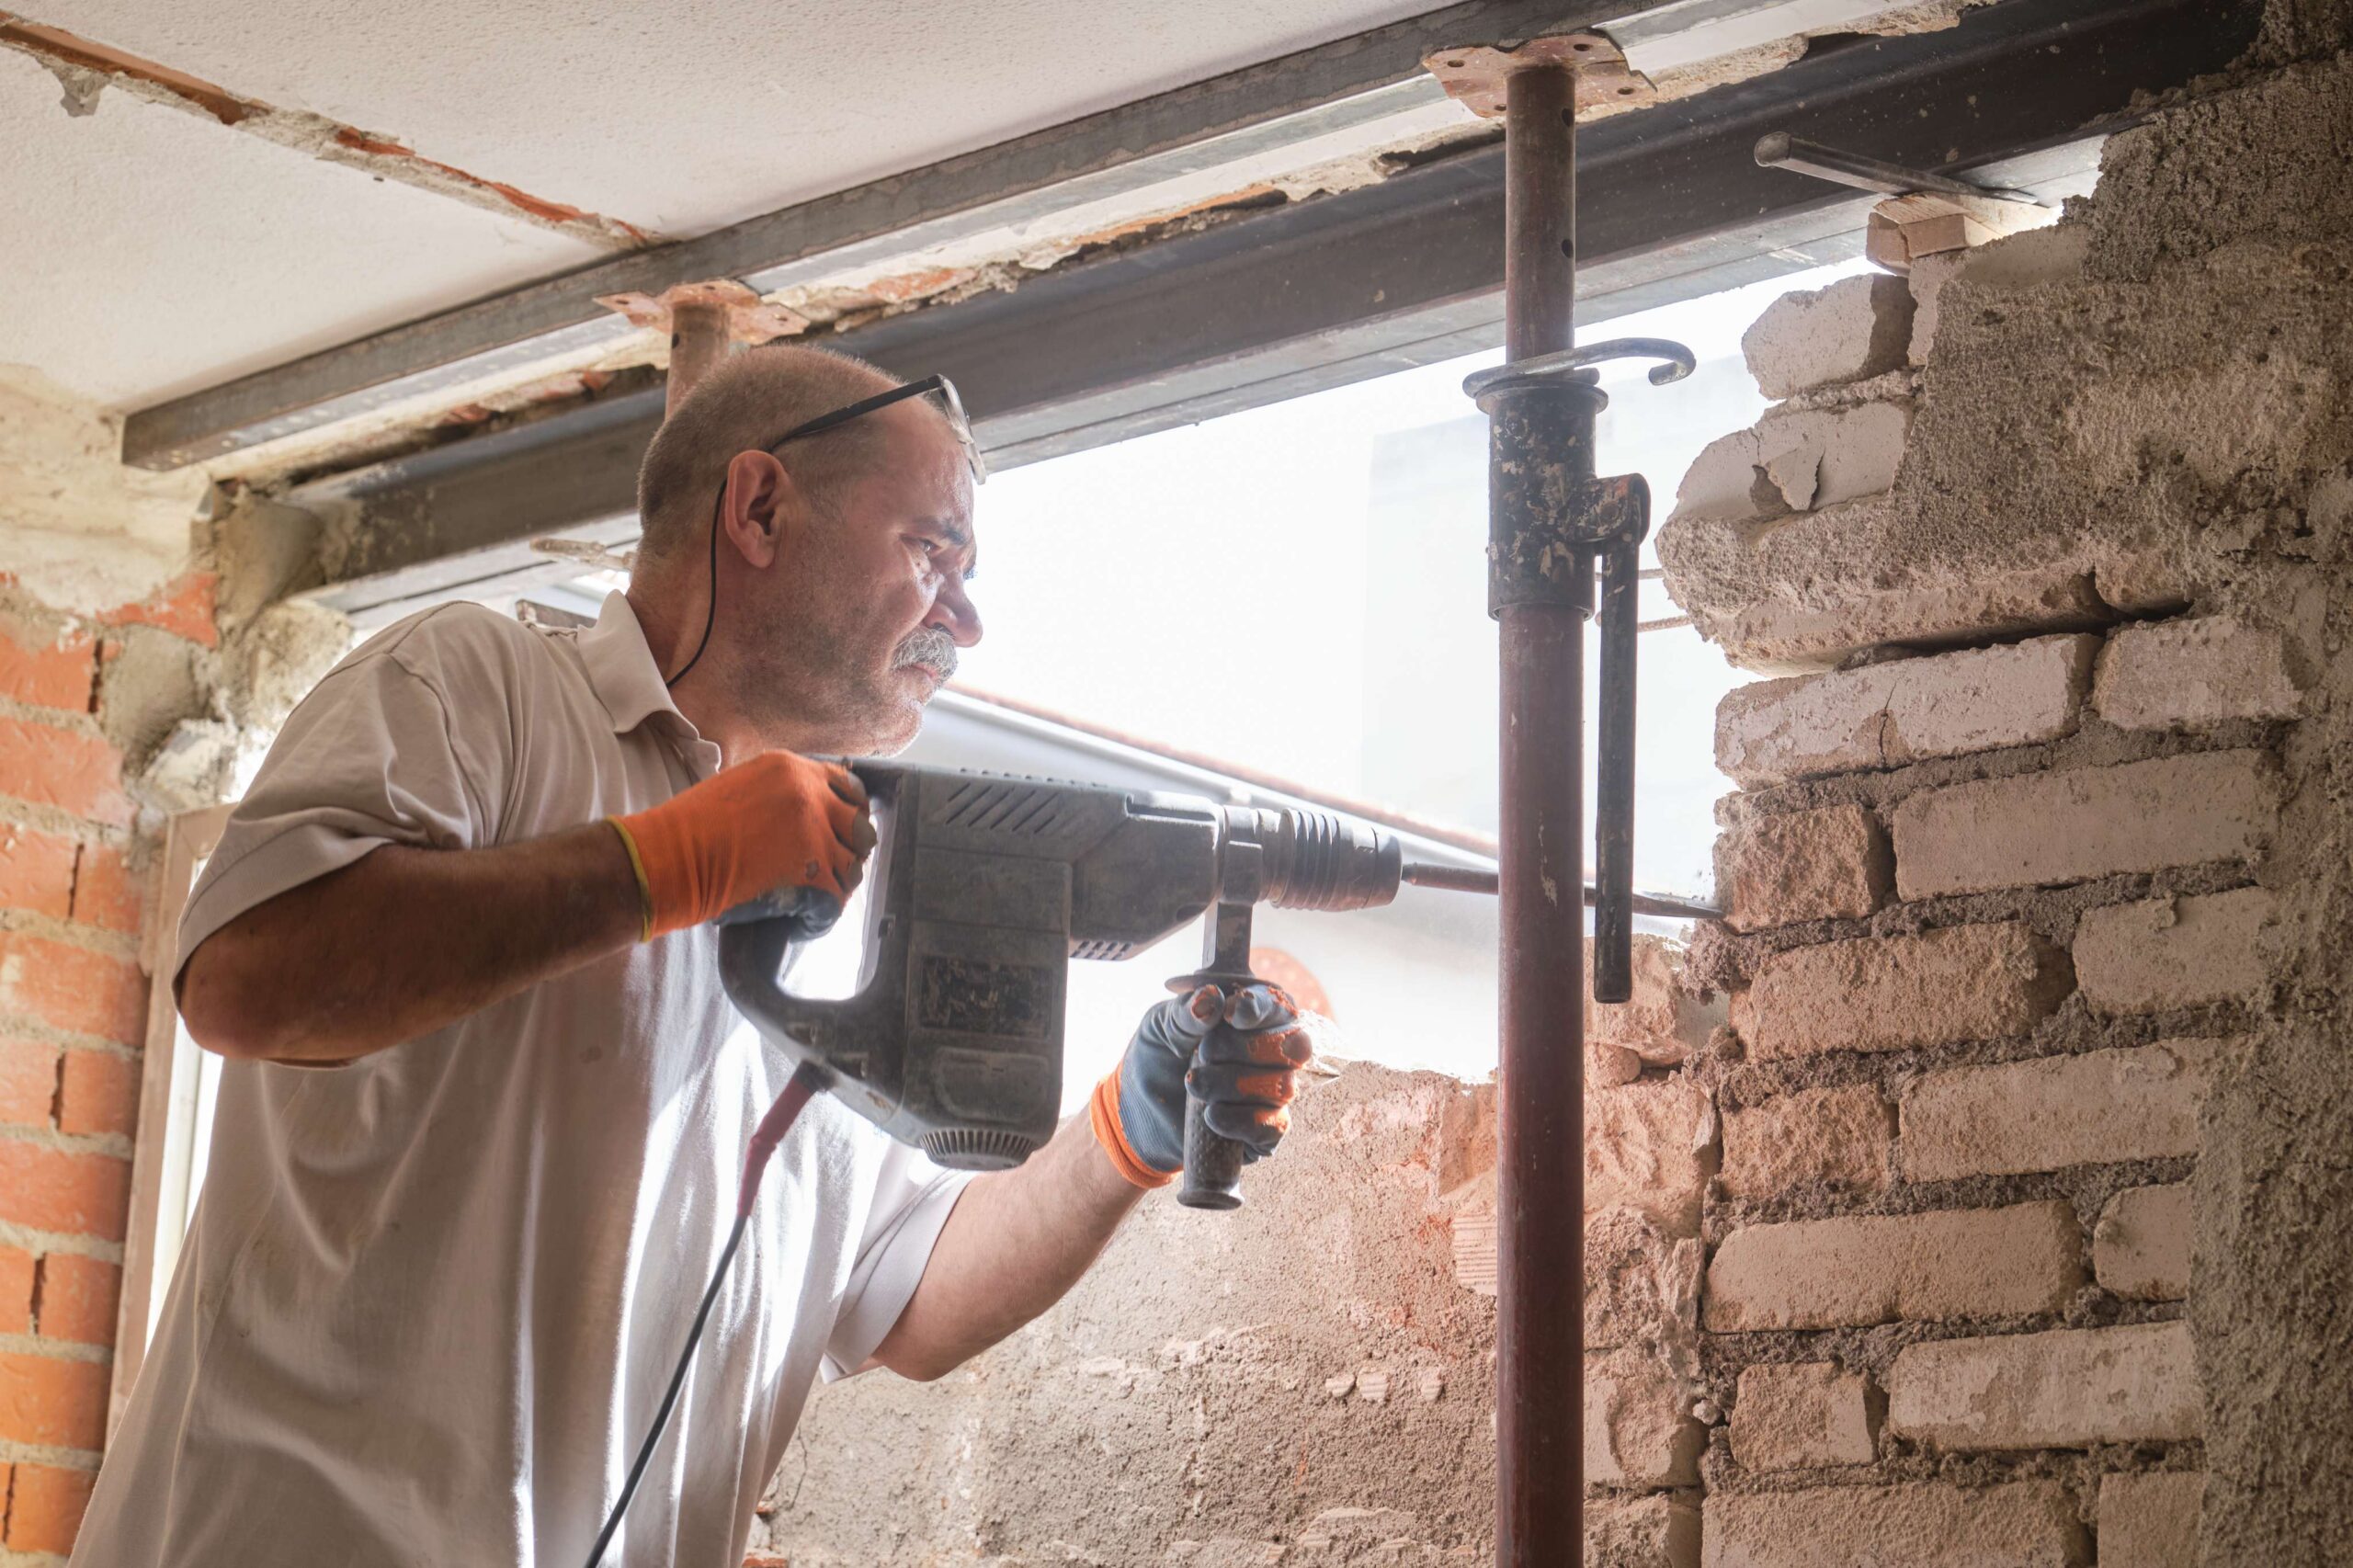
Between the moment a load-bearing wall comes out and the moment the new beam takes over, something has to hold up the ceiling. That "something" is temporary support, also called shoring. In simple terms: temporary walls or adjustable steel posts are set up on both sides of the wall, tightened against the ceiling to carry the load, and only removed once the permanent beam is in place and bearing. Getting this right is the single most safety-critical part of any wall removal.
When you remove a structural wall, the floor or roof above loses its support until the permanent beam is installed and bearing. Temporary support carries that load in the meantime, preventing sagging, cracking, or sudden movement while the work happens.
The supports must land on something that can carry the load all the way down — not just on a floor that itself needs support. This is exactly the kind of detail that separates a safe job from a dangerous one.
The joists above usually rest on the wall from both directions, so each side needs its own support. Shoring only one side leaves half the load hanging the moment the wall comes out. This is one of the most common mistakes in DIY attempts — and one of the reasons shoring belongs in professional hands.
Where the shoring stands matters as much as how strong it is. Temporary walls are typically placed a short distance back from the wall being removed — close enough to pick up the joists before they can sag, far enough to leave working room for the crew and the beam. The load on the shoring also has to travel somewhere: if the temporary supports stand on a bouncy mid-span floor rather than over a solid bearing, the “support” is standing on something that itself needs support. On many jobs, that means shoring extends down into the basement so the load path remains solid from roof to footing throughout the operation.
If you spot any of these on a past renovation, have the structure assessed. Small movement caught early is far cheaper to fix than a failed beam.
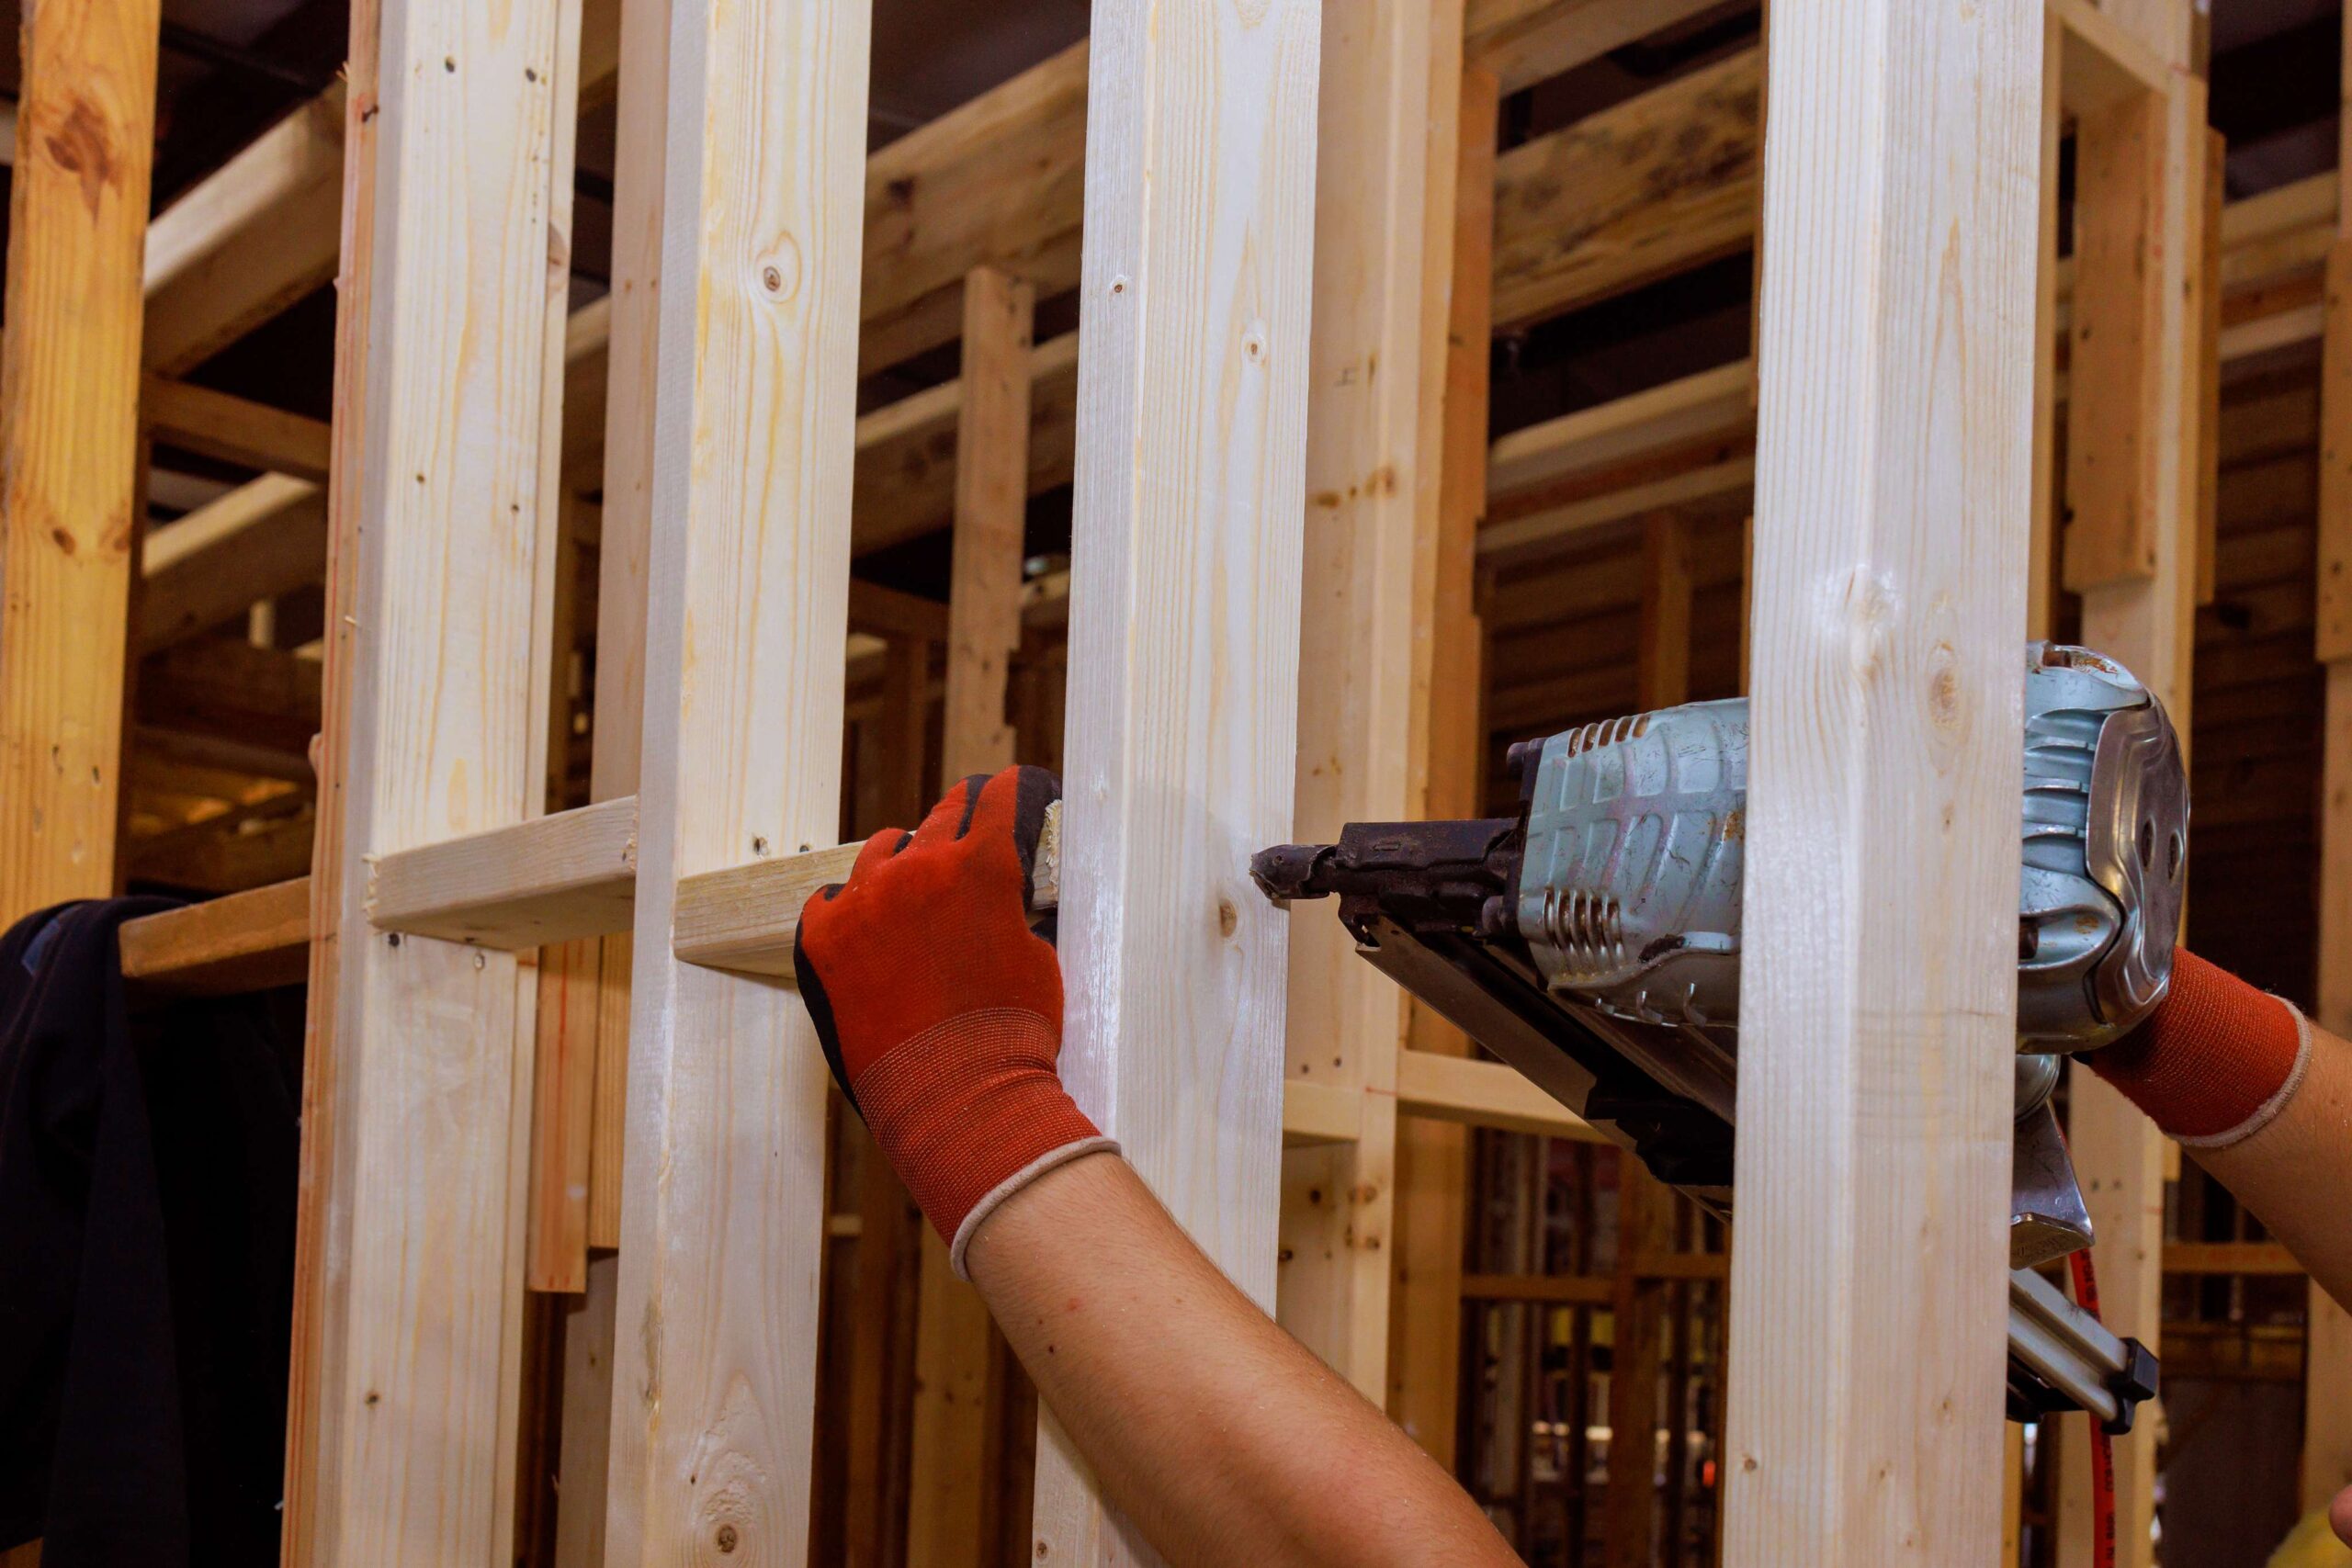
By building temporary support — usually a braced stud wall or adjustable steel props under a strongback beam — on both sides of the wall being removed. This holds the ceiling load until the permanent beam is installed and bearing.
Only until the new beam and posts are installed and carrying the load — typically the same day or within the active construction phase. It’s removed once the permanent support is confirmed to be bearing.
Steel props are a real tool, but placing them correctly, sizing them for the load, and landing them on adequate bearing is engineering-dependent. Incorrect shoring is a leading cause of renovation accidents, so this should be done by professionals following an engineered plan.
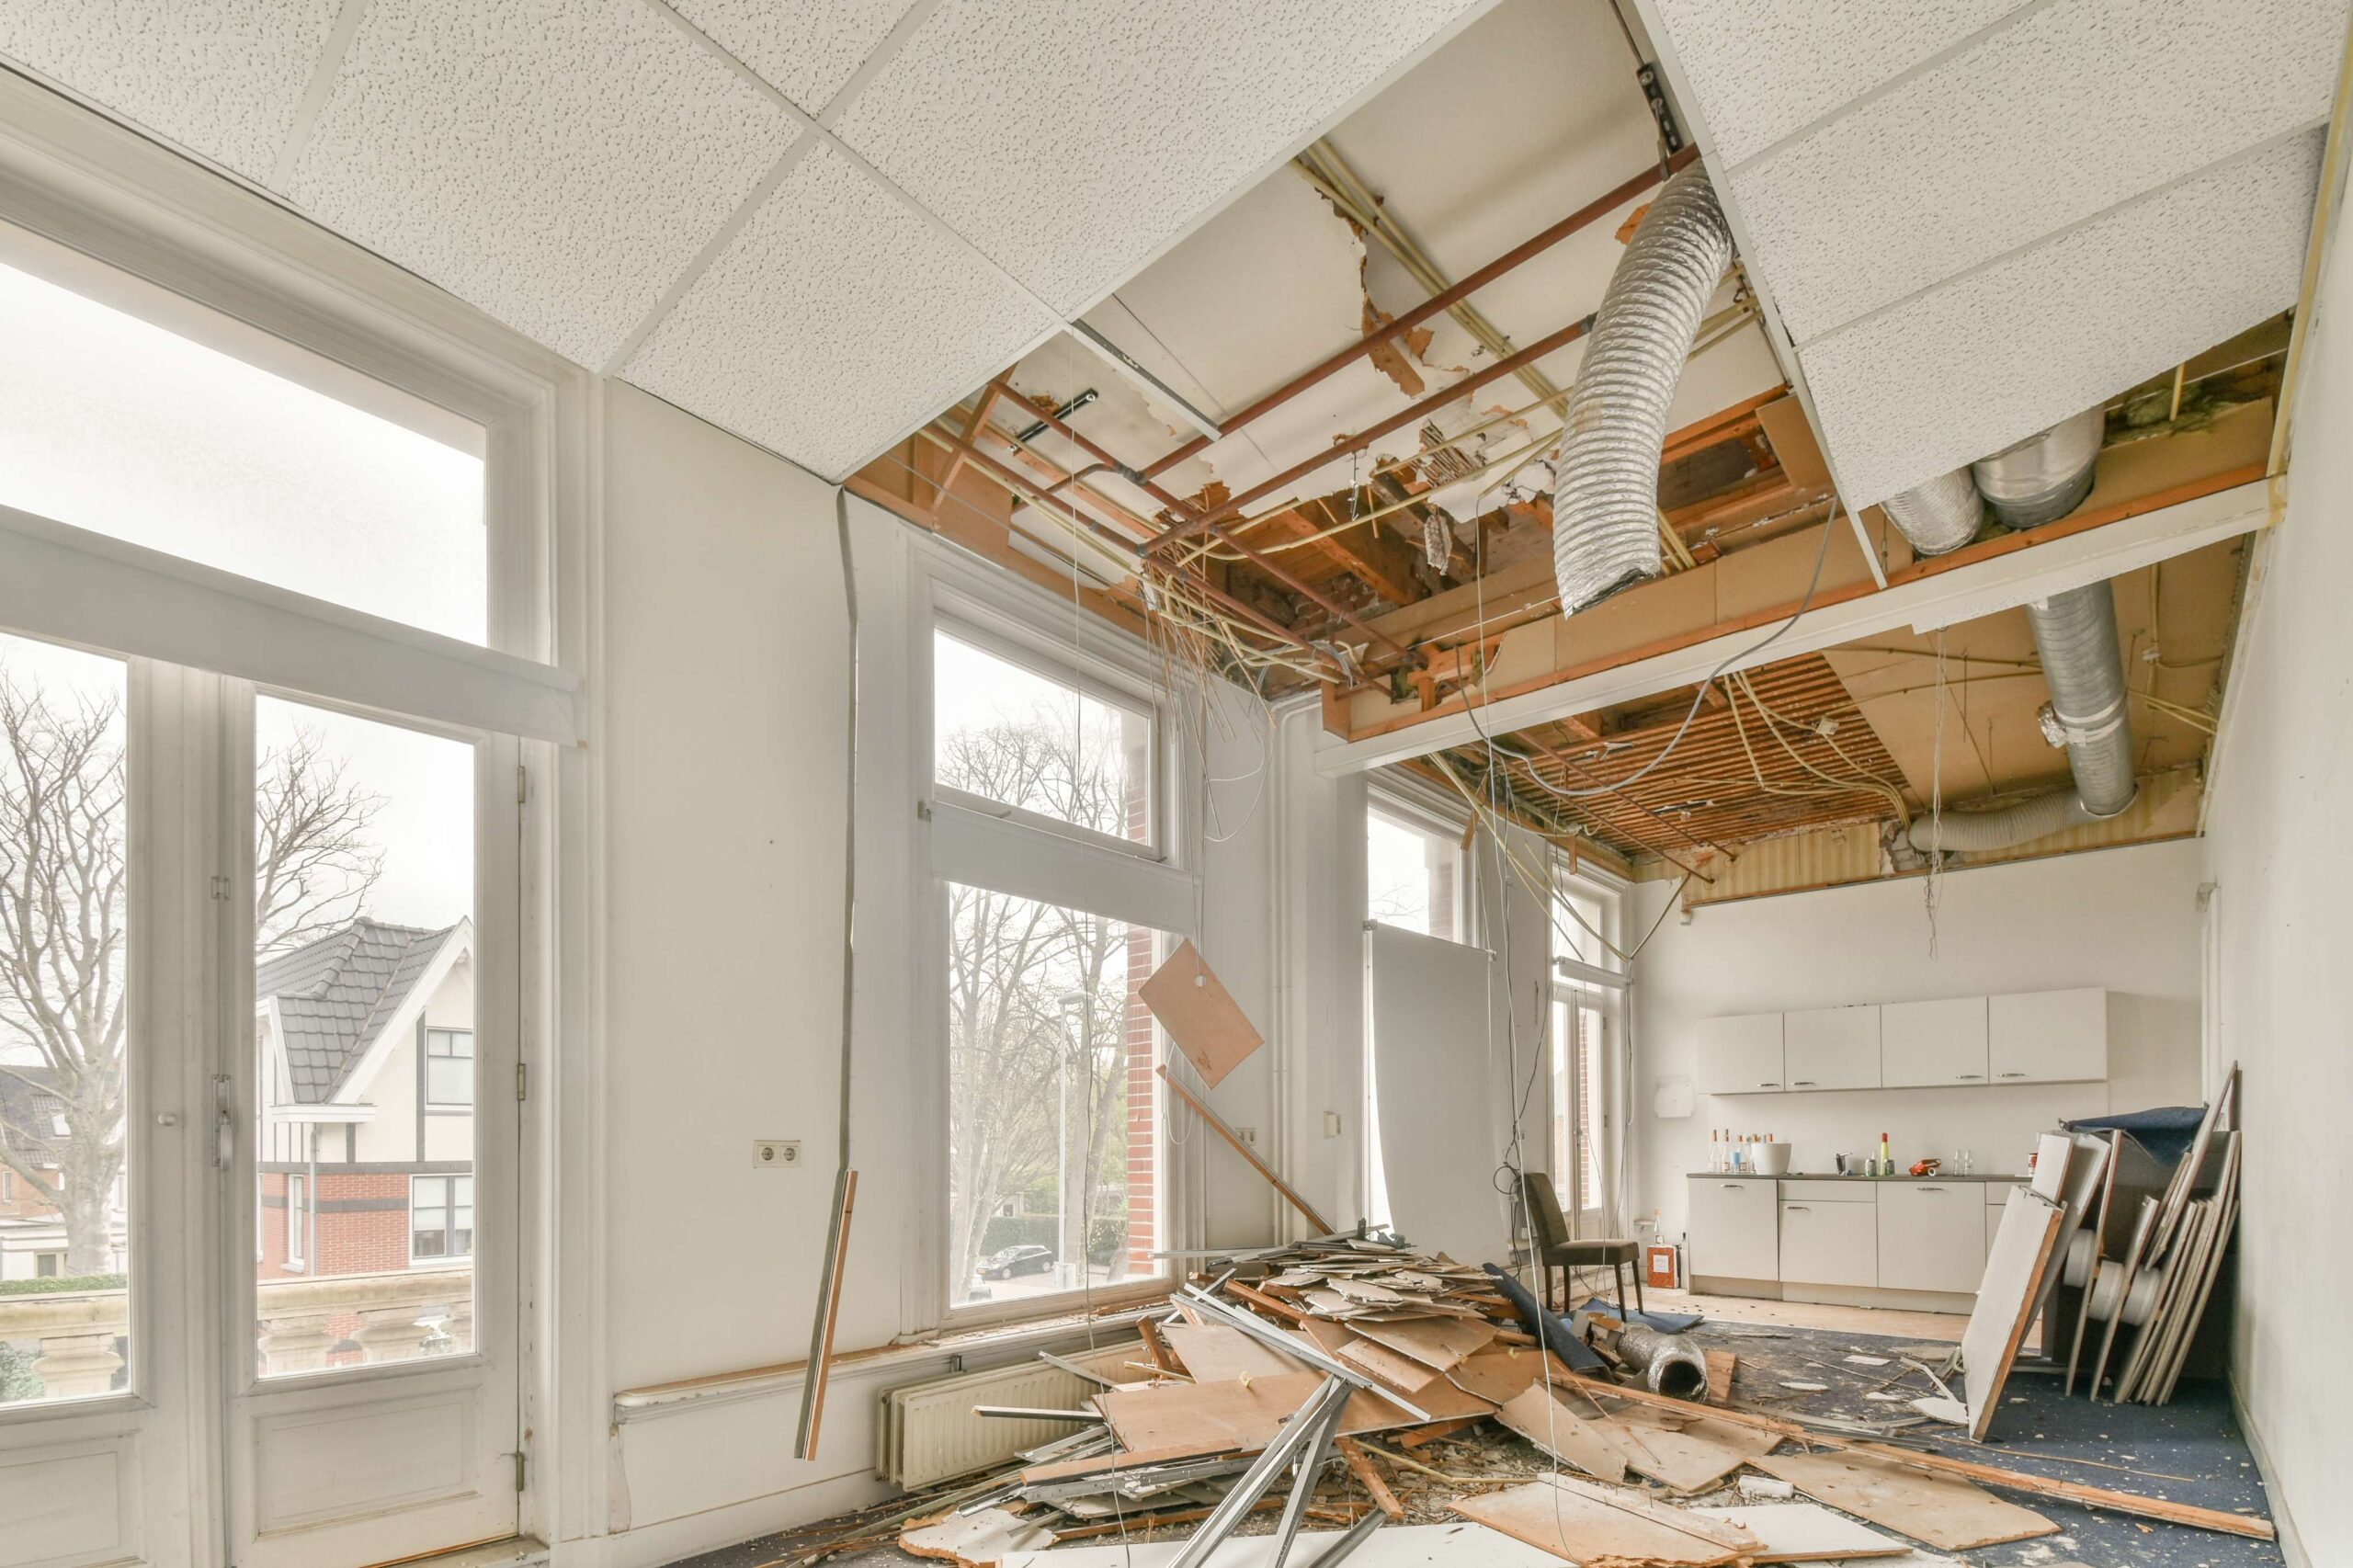
The structure above can sag or drop immediately, cracking drywall, bowing floors, and creating a serious safety hazard. Temporary support is non-negotiable on any load-bearing removal.
Yes. Proper shoring is built into every load-bearing wall removal we do, following the engineered design for your specific home.
Get a free consultation on your load bearing wall removal project in Toronto or anywhere across the GTA. We’ll assess your wall, explain the process, and give you a clear, no-obligation quote.